Configure Drovio Server
You can configure Drovio Server right from the administration panel or from the configuration files. In both cases changes are picked up while the server runs: the configuration file is watched and a change takes effect within a few seconds, without interrupting ongoing sessions.
Three exceptions need a restart
- Plugins. The
plugin_managementsection is loaded at startup and is not reloaded dynamically, so adding, removing or reconfiguring a plugin only takes effect after a restart. Integrations such as the Slack integration fall in this category. - The HTTP listener.
tls,http_portandhttps_portare read once, when the server starts listening. Changing them later has no effect until a restart. On Linux,keystoreandkeystore_passwordare reapplied on the live listener when the server receivesSIGUSR2. See Enable HTTPS. - SSO. The SAML and OIDC clients are built when the server starts. Enabling or disabling SSO takes effect immediately, but changing the settings of a provider requires a restart. See SSO.
Everything else applies while the server runs. See Start and stop the service for your platform.
From the administration panel
The administration panel is locally located at:
Replace localhost with your actual IP if you are accessing it from a distant
machine. If you cannot access the administration panel for any reason, please read
Troubleshooting.
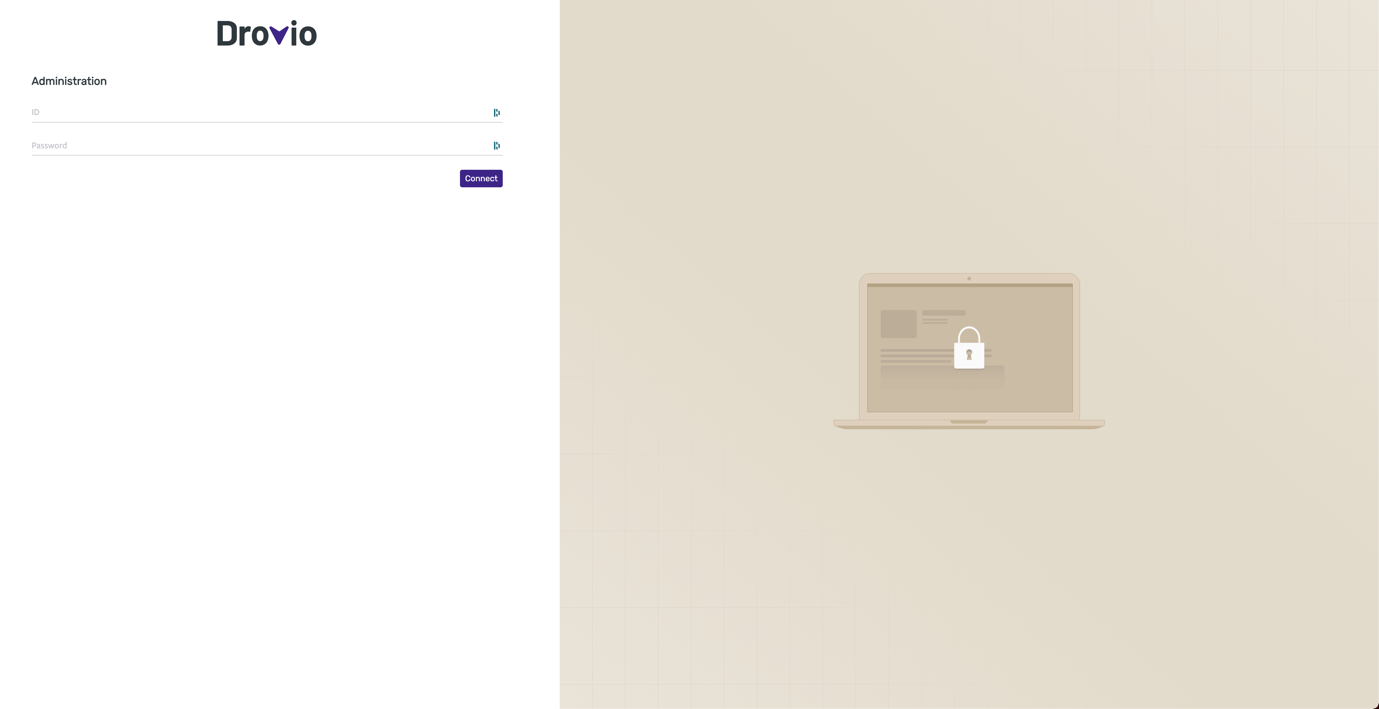
Create the first administrator
A new server instance has no administrator. On its first start, it writes a setup token next to its configuration file, where only the system administrator can read it:
/etc/drovio-server/admin-setup.token
C:\ProgramData\Drovio\Drovio Server\admin-setup.token
config/admin-setup.token, next to docker-compose.yml.
Open the administration panel. Until an administrator exists, every page of the panel leads to Create the first administrator. Enter the token, then your email address, the name shown to the other administrators and a password. The password needs at least 12 characters, and a common password is refused.
The server deletes the token once the administrator is created: it cannot be used again.
In a cluster
Only one node writes the token. Its log tells which one, on a line starting with
There is no administrator yet.
Administrators
Administrators sign in with their email address. You can add other administrators on the Administrators page, which also lets you change their passwords or remove them. Each administrator can change their display name and password from Profile, right from the avatar menu.
When mail is enabled, an administrator can verify their address with a code sent by email, right after signing in.
The server sends notifications to the administrators whose address is verified: few licenses left to bind, unusually many email codes sent, a single sign-on certificate about to expire, and those of the integrations/plugins.
Each administrator can select the notifications they want to receive from Notifications, right from the avatar menu.
Upgrade from a version older than 3.7.0
Older versions declared the administrators in admin.properties, next to the
configuration file. On its first start after the upgrade, Drovio Server transfers them
into the database, then renames the file to admin.properties.migrated. You can safely
delete it once every administrator has migrated.
These administrators have no email address yet, they'll need to follow these instructions:
- On the sign in page, follow Migrating from admin.properties?. The link shows as long as an administrator is left to migrate.
- Sign in with the username and password of
admin.properties. - Enter your email address and the name shown to the other administrators.
- When mail is enabled, enter the code sent to that email address.
- Replace the password if it does not follow the rules above, as the former
default
admin / admin.
From then on, sign in with your email address.
When logged in, head to the Settings page as shown below to reach the configuration panel.
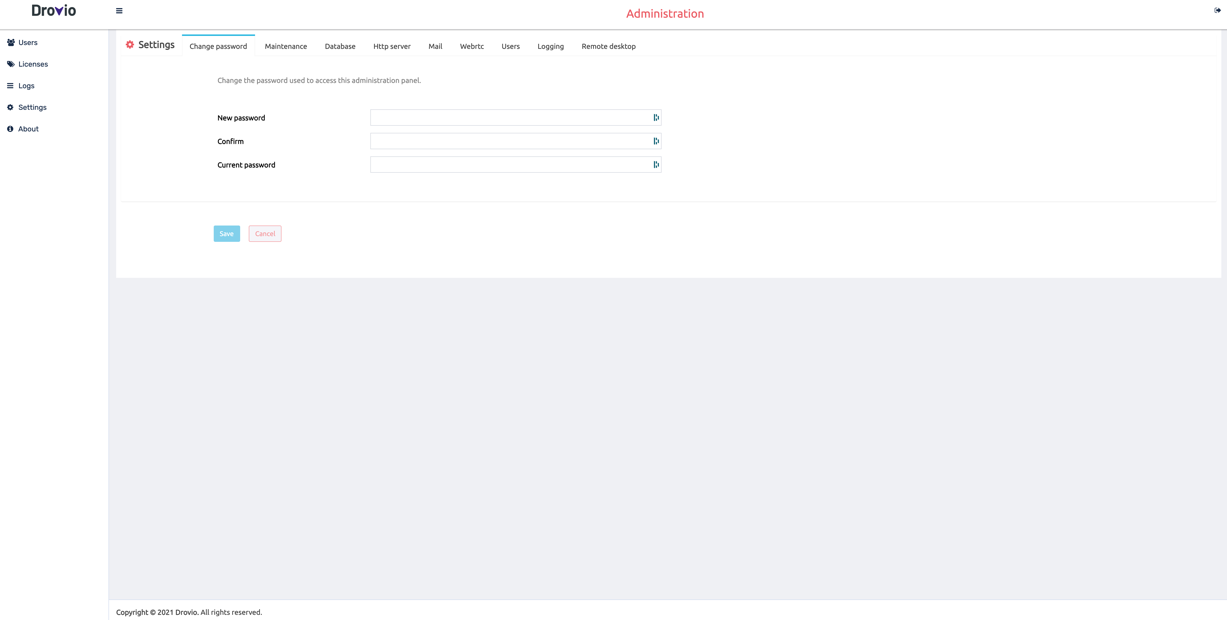
From here, you can change any setting used by Drovio Server. Refer to the Configuration reference for a detailed description of each field.
A setting to change right now
The URL pointing to this server: HTTP server → URL, needed for notifications and user invitations.
From the configuration files
Drovio Server is configured through a JSON file:
Open /etc/drovio-server/settings.conf.
Open C:\ProgramData\Drovio\Drovio Server\settings.conf.
The configuration is in JSON format. Each field is described in the Configuration reference.
Your JWT secret
http.jwt_secret signs the sessions of users and the tokens on the API.
Since version 3.6.7, every installation, using the Windows and Linux
installers or the Docker images, will generate a secret at first start.
There is nothing to do on your end.
Installations deployed with version 3.6.6 or earlier had the value shipped
in the package. Replace it with a random string of your own, for instance
the output of openssl rand -base64 32. Doing so signs out the users
currently signed in.
Related topics
- Configuration reference: every setting, grouped by section.
- Enable HTTPS
- SSO: SAML & OIDC
- High Availability